Features
Getting Started
Installation
- IOS: support 16.0 or above
- Android: support 13 or above
Downloading app from Google Play or Apple Store
Register and Login
- Google Sign-In: Available for Android users, enabling a streamlined login experience.
- Apple Sign-In: Specifically for iOS users, offering an integrated login option
- Email Sign-In: A universal method available for both Android and iOS users.
This application supports multiple sign-in methods to accommodate various user preferences:
Scan Receipt or Invoice
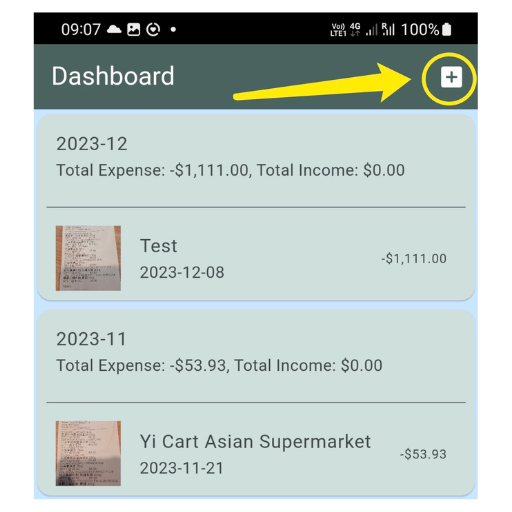
- First Step: Locate and click the plus icon situated in the top right corner of the page.
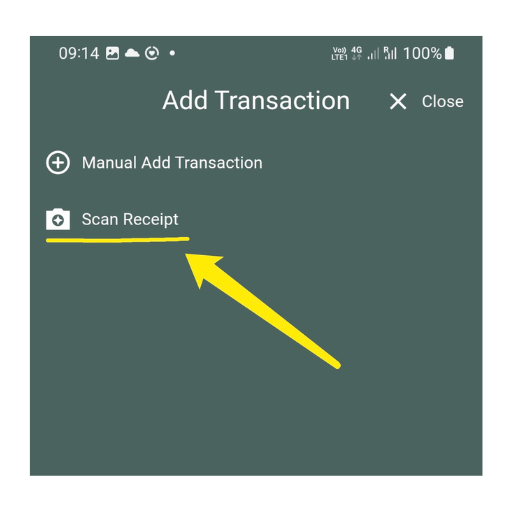
- Second Step: Activate the "Scan Receipt" function by pressing its button.
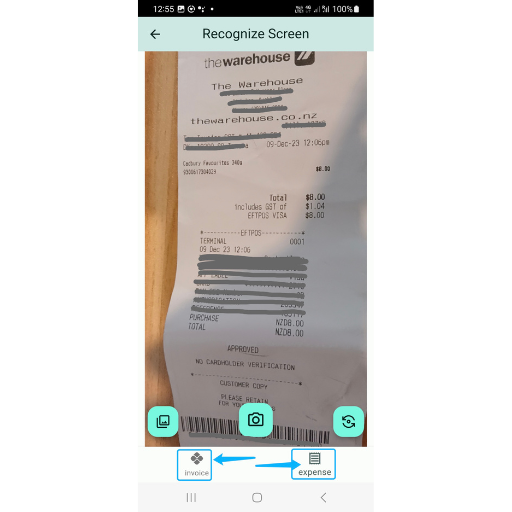
- Third Step: In the camera preview interface, opt for either "Invoice" or "Expense". This selection instructs the AI engine to interpret the scanned document as a receipt or an invoice, respectively.
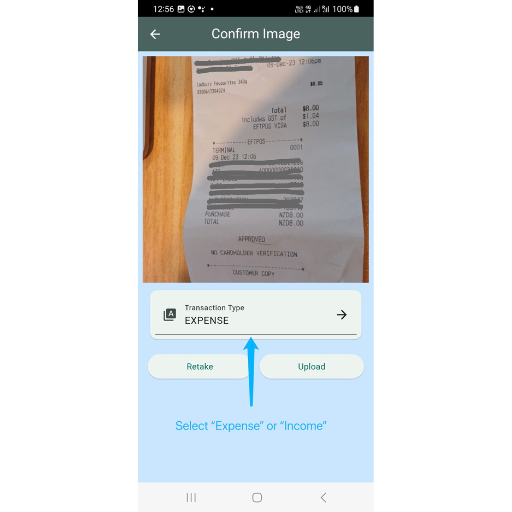
- Fourth Step: Decide if the transaction falls under "Expense" or "Income". This choice determines how the transaction amount is categorized: as a negative value for Expenses or a positive one for Income.
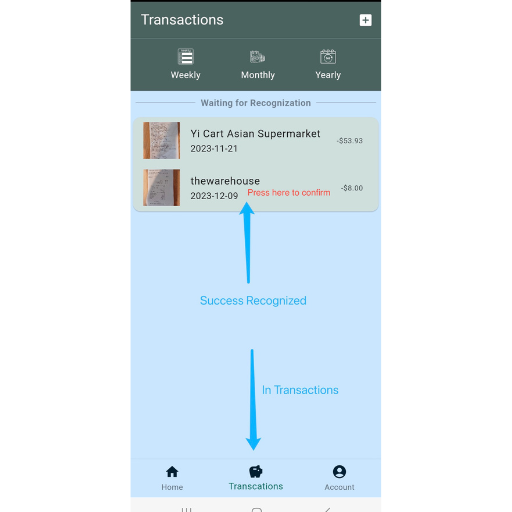
- Fifth Step: Allow some time for the AI to process the scanned document. Post-processing, the AI will automatically refresh and display the transaction details.
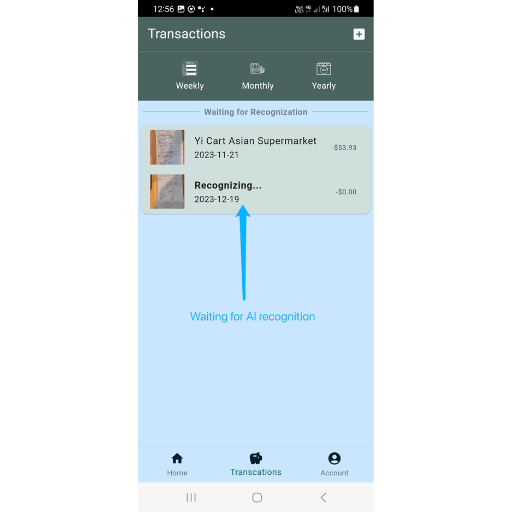
- Sixth Step: Review the AI-generated recognition result by tapping on it. You can confirm or modify the details at this stage. Confirming will add the transaction to your list and factor it into automatic calculations. Skipping confirmation means the transaction won't be added or included in calculations.
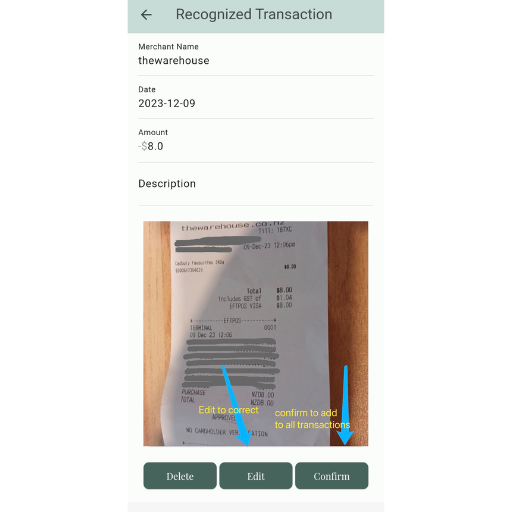
- Seventh Step: This interface enables you to scrutinize and modify transaction details as needed.
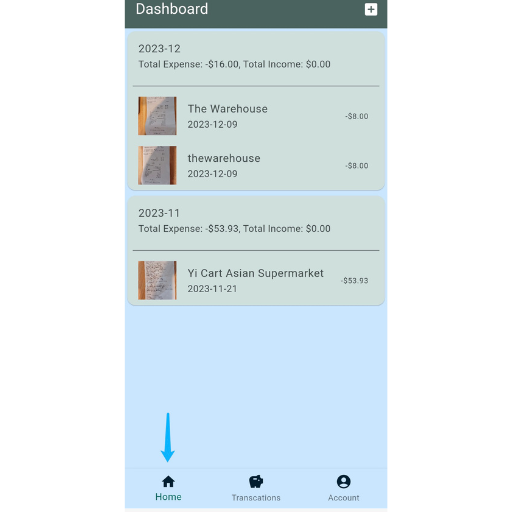
- Completion After completing the steps, return to the home/dashboard screen. You will see your transaction list there, along with an updated summary of your monthly financial activities.
Quick start to scan the receipt